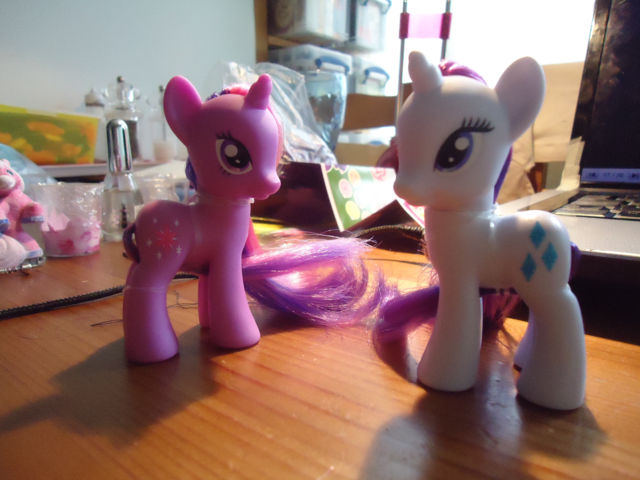
I have a finished pony!
Photos tomorrow, or later today if I find time. She's all perdy! =D
AND I've started my next pony project. =)
Finally getting around to posting the rest of this!
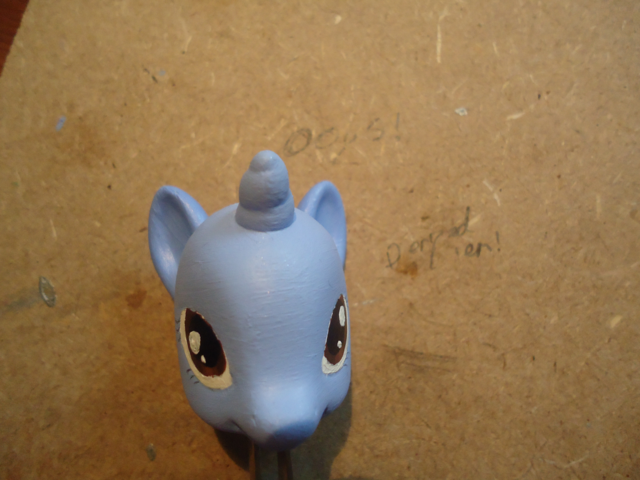
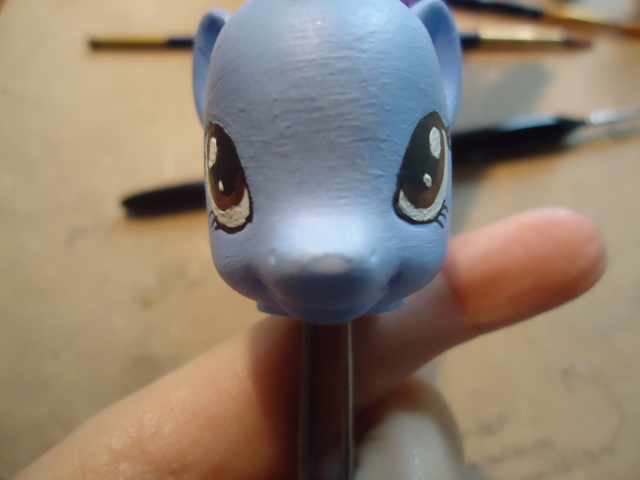
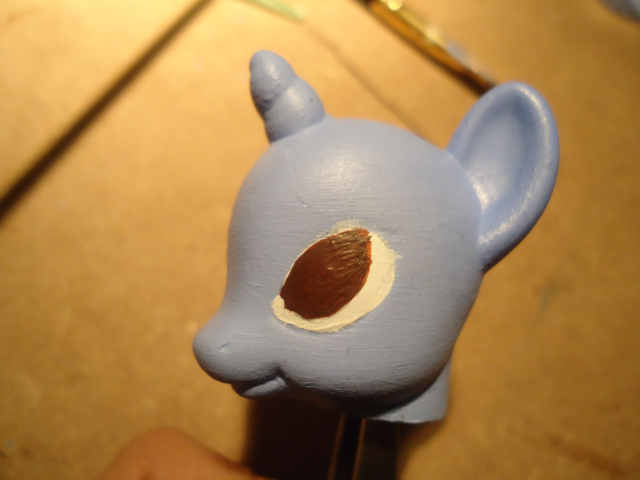
First, I finished off her eyes colouring. Three shades of brown used here. I think I later remixed the lightest shade and repainted it, but I can't remember.
Then added the black for the 'pupil' and the white highlights. First attempt at this I 'derped'. It looked cute, but wasn't what I was going for!
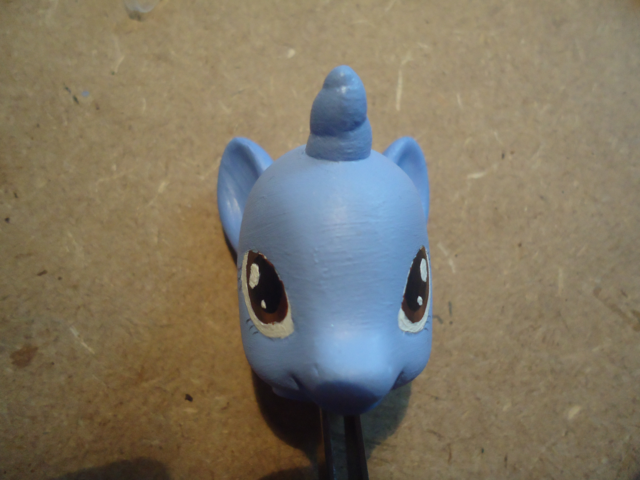
That's better!
And eyelashes!
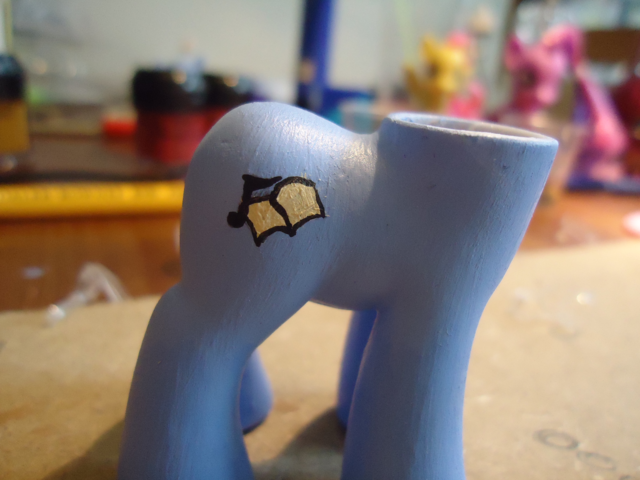
Then it was time to choose her cutie mark. Since this pony is supposed to be 'me', I went with two of my favourite things. Music, and reading. I could have used to many things, it was hard to choose, but those two are pretty dominant in my life so that's what I went with. A musical note, and an open book.
She has this on BOTH sides, unlike the official G4 ponies who only have their marks on ONE side.
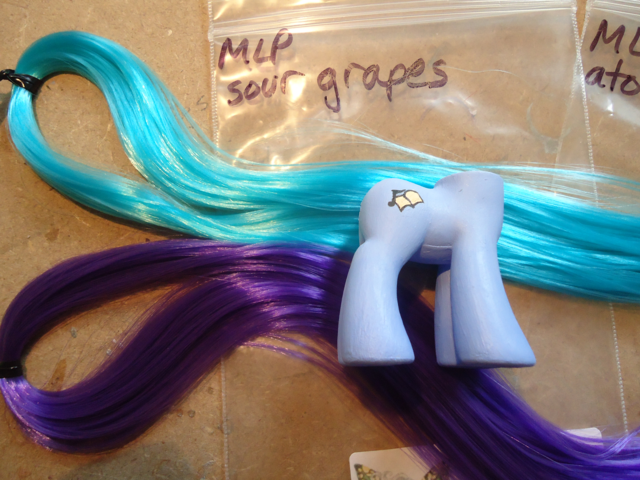
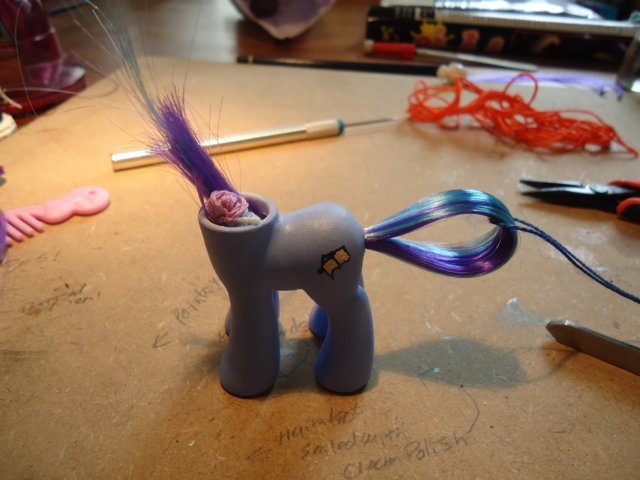
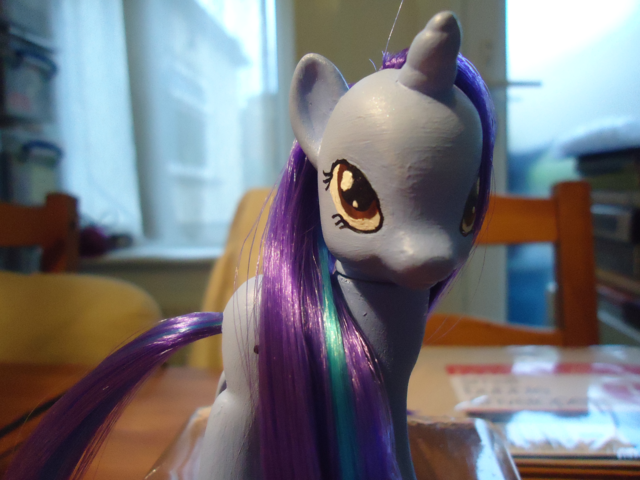
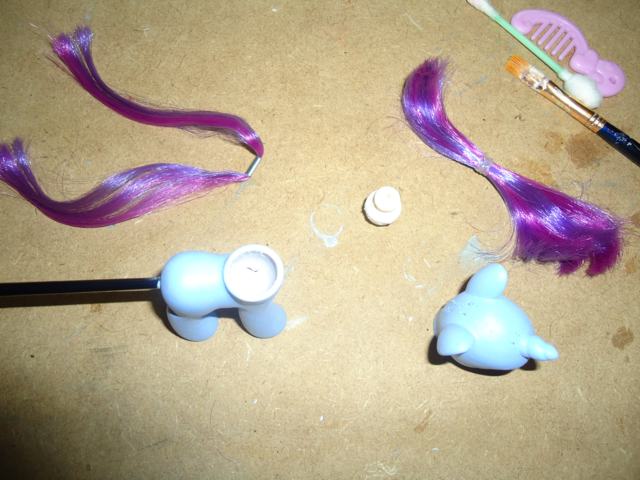
Time to choose her hair colours! Sour Grapes and Atomic Turquoise.
I took some photos of actually rooting her mane, but I don't know if they're needed right here? I can start a new thread and post them as a tutorial if they'd be helpful to anyone.
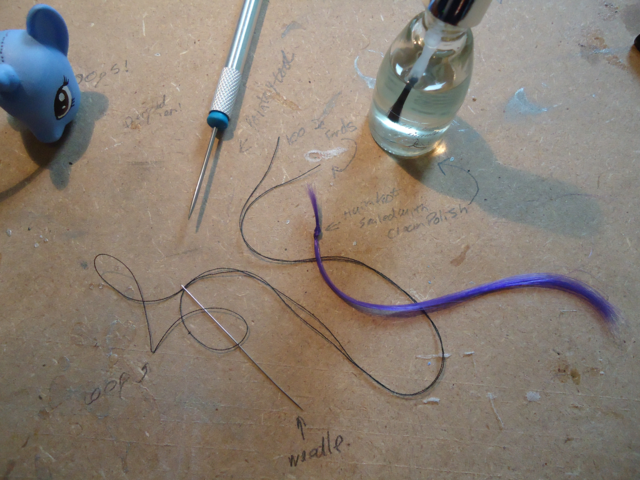
There's a photo of my tools at any rate. =)
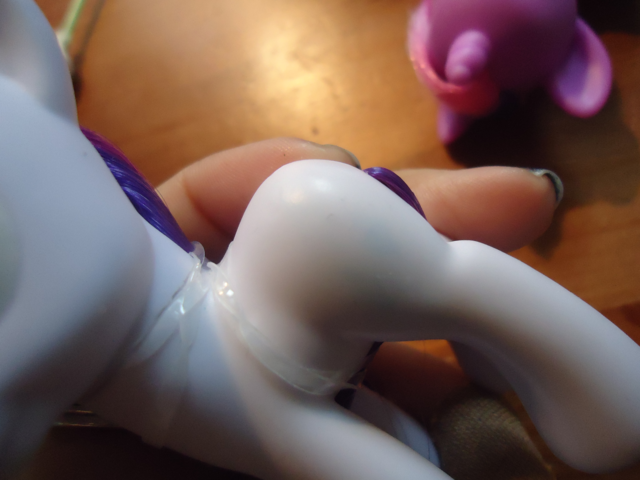
Rooting her tail was pretty simple.
First I took enough of the hair to fill the tail hole, and then folded it in HALF. So it had to be twice as long as I wanted her tail to be in the end (if this makes no sense just shoot me? Hahah). Then I took this 'lump' of hair, and tied a piece of embroidery thread TIGHTLY around the middle of it. Tied a KNOT in the thread, and kept on winding it round and round to make a large bundle of thread. Then I folded it in half, and wound ANOTHER piece of embroidery thread around, just under the first. It's easier to see how I did it in the picture than explaining, really. You need something stronger to pull the tail through, than you do for the mane re-rooting. I used embroidery thread because I had plenty at hand. I also had to use my pliers to make the tail hole a little larger to get the tail through.
(sorry for this one being blurry, but you can see the loop coming out of the neck and the tail hair threaded through said loop. The loose ends of the loop are hanging out of the tail hole.)
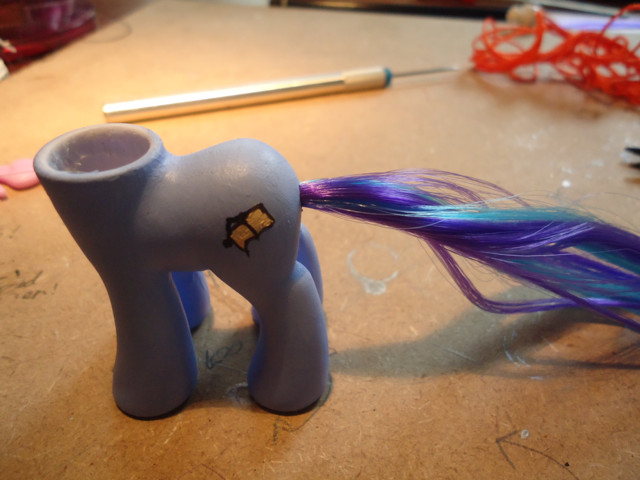
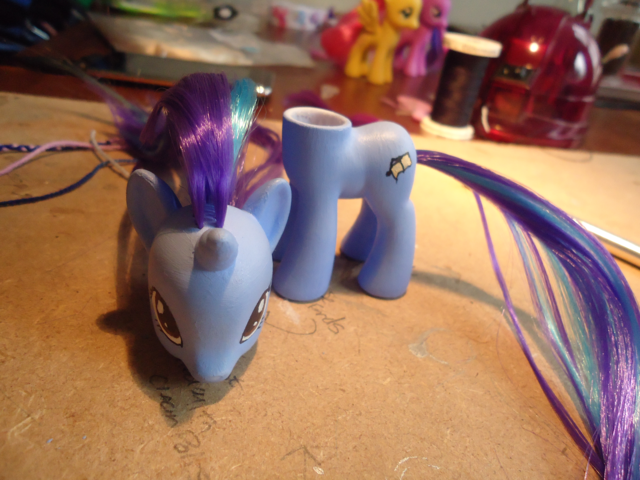
Mane and tail now happily rerooted! I used lots of clear nail polish to secure all my knots on the inside of both head and body.
Somehow during the process, her poor nose got a beating and some of the paint rubbed off. =(
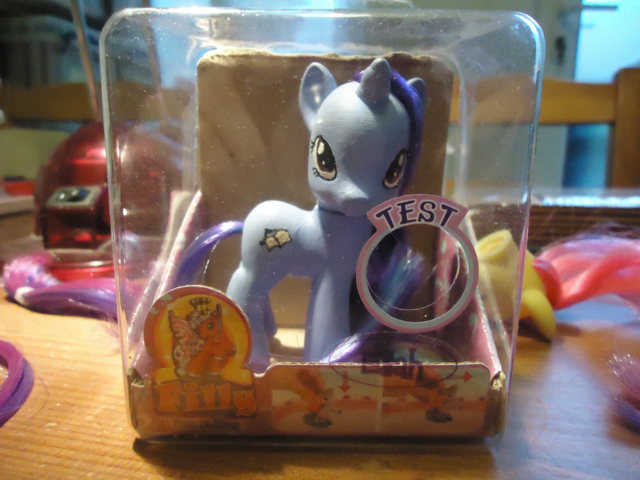
So I fixed it up, good thing I've started saving my paint when I'm doing things like this! I utilised the packaging from a Filly to make a makeshift stand while I waited for paint and nail polish to dry.
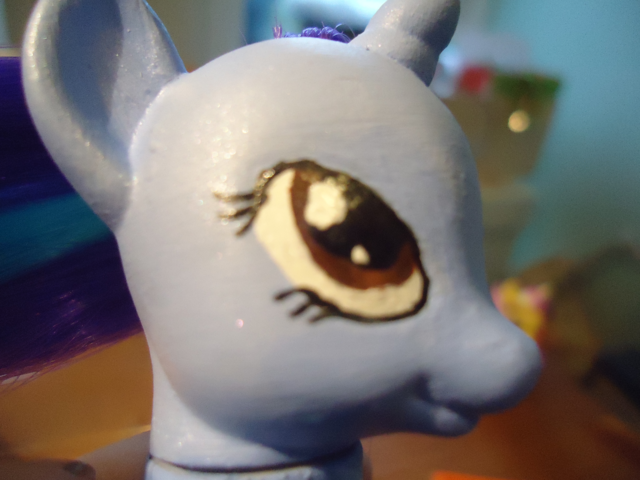
This isn't a very clear photo, but you can just see how her eyes are slightly shiney. This is because I used a fine brush and some more clear polish, to make them this way! =D
And finally, we have a few 'photo shoot' style photos! =)
I liked the idea of the last one. It's the Filly packaging, but it looked quite neat. Maybe Hasbro should think about packaging their ponies like this. It takes up less room than the packaging they do use, and it looks cute too.
The next project is an actual series pony who doesn't currently have a toy released. There is one due for release later this year though from what I've read.


")